
This Arduino oscilloscope is perfect if you need an oscilloscope right now, but all you have is an Arduino.
I needed an oscilloscope to debug my Radar Arduino library.
The code worked perfectly when it was not in “Arduino library”-form. But when I modified it into a library, it just didn’t work at all.
Since the radar module (from https://www.xethru.com) was using the UART, I didn’t have any way of checking what was going on.
So I needed an oscilloscope to check if there was actually any action on the UART lines.
Tools needed:
- Arduino
- Jumper wires for measuring
Step 1: Upload Arduino Oscilloscope Code
First of all you need some code to read the analog value from the analog input pin A0. You can do this easily by using the analogRead() function.
Then you need to send this value over to your computer using the serial port. There are plenty of ways to do this. In the following code, the value is sent as two bytes with one 0xff byte in between.
This code reads an analog input and writes the value to the serial port. Upload the following code to your Arduino:
const int analogPin = A0;

void setup() {
  //Setup serial connection
  Serial.begin(9600);
}

void loop() {
  //Read analog pin
  int val = analogRead(analogPin);

  //Write analog value to serial port:
  Serial.write( 0xff );
  Serial.write( (val >> 8) & 0xff );
  Serial.write( val & 0xff );
}
This code is from https://gist.github.com/chrismeyersfsu/3270358#file-gistfile1-c
This is really all it takes on the Arduino side to make an Arduino oscilloscope. But to display the values, you need some code on you computer too.
Step 2: Install Processing
You need something on your computer to receive the values that are sent from the Arduino, and display them nicely. Processing is a simple programming environment to do this.
Download processing for free from their website: https://processing.org/
Then install it on your computer.
Step 3: Run Processing Code
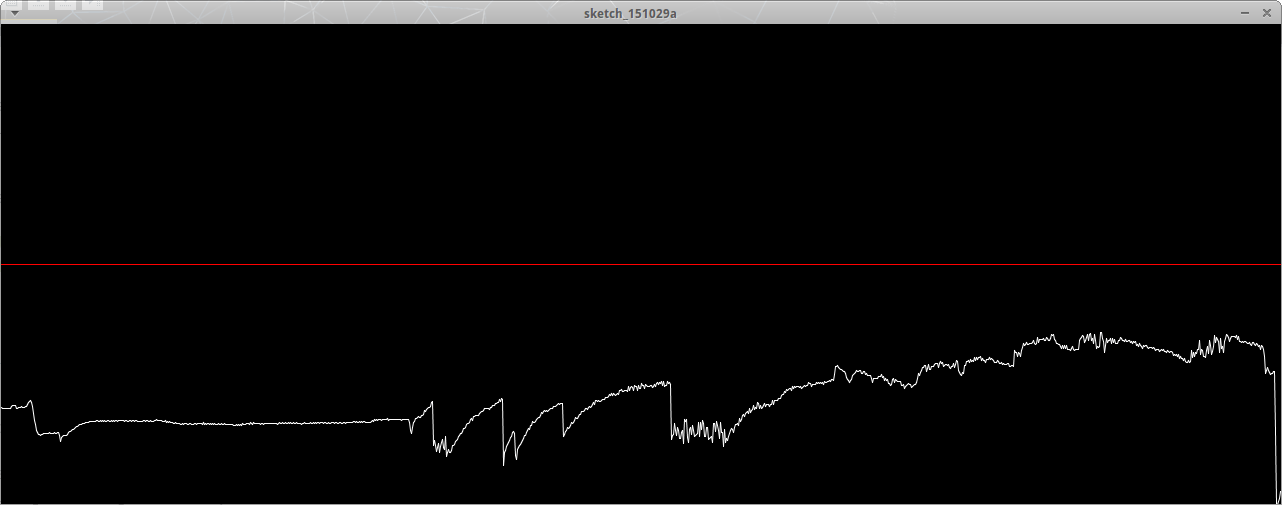
Then, you’re ready to run the processing code. Copy and run the following code in processing to get a nice oscilloscope interface on your computer:
https://gist.github.com/chrismeyersfsu/3270419
Step 4: Test Your Arduino Oscilloscope
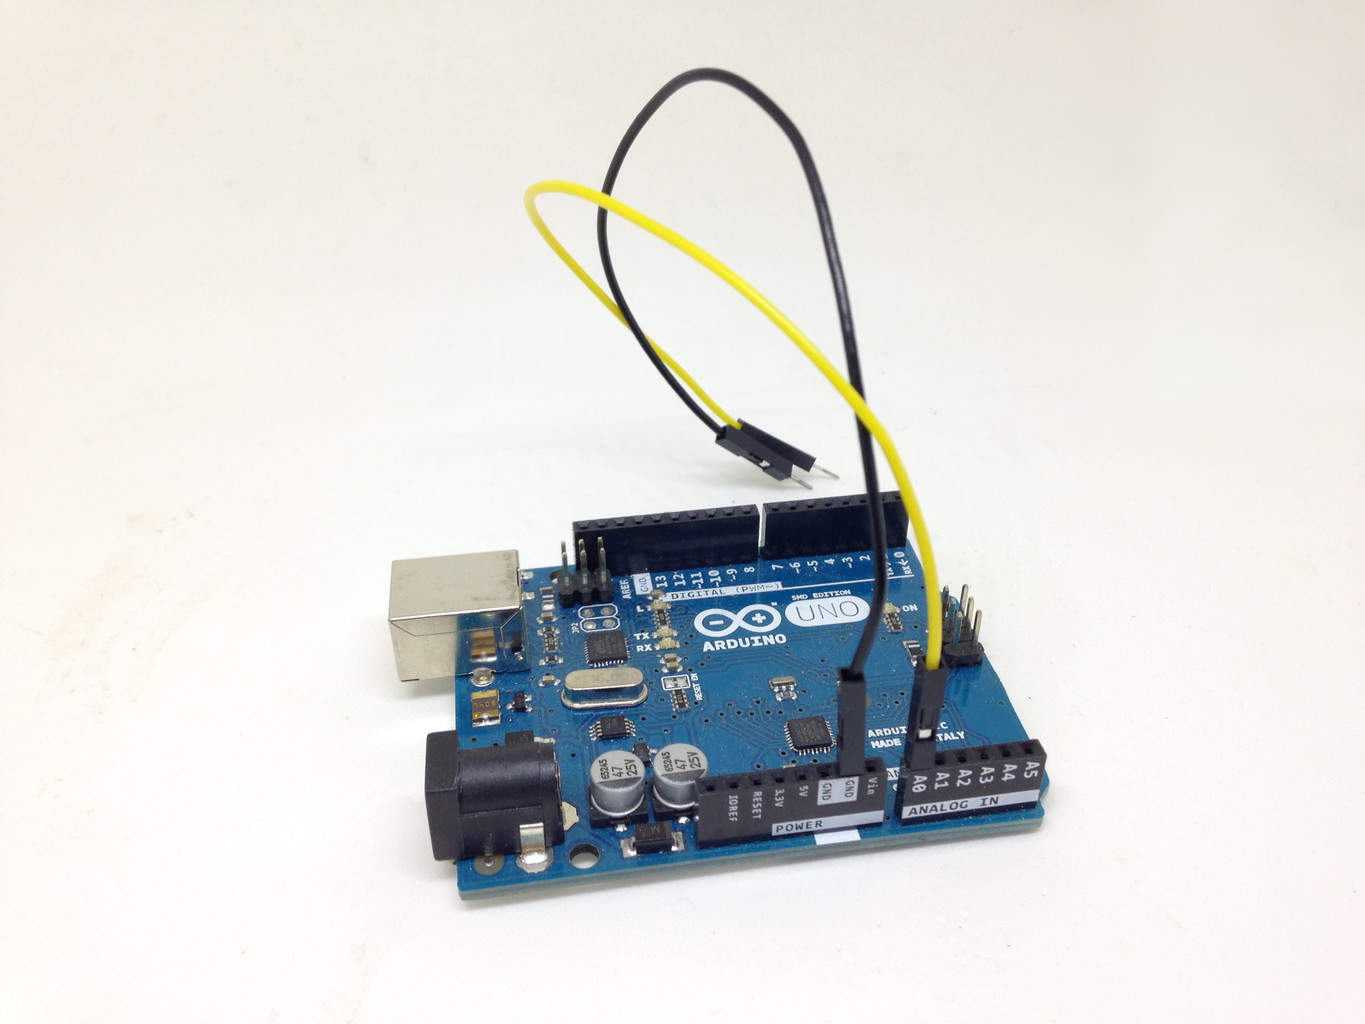
Connect two jumper wires to your Arduino. One from ground and one from the A0 analog input.
You should now be able to use these wires to measure things and see the measurement on your computer.
Viola! You’ve just created a super simple arduino oscilloscope.
Oscilloscopes are actually very easy to use, once you learn a few basic things: Learn how to use an oscilloscope.


