Connection of the motors
The quadcopter is assembled in QUADX mode and the ESCs must be connected to the board in the following manner:
- SX front motor to the D2 pin;
- DX rear motor to the D3 pin;
- DX front motor to the D5 pin;
- SX rear motor to the D6 pin.
If the ESC uses a BEC of the LDO type, as in our case, it is possible to connect all the outputs without carrying out modifications. If the BEC is of the switching kind, it is important that only one of the ESCs brings power to the board. In this case, please remove the red wire from each ESC’s cable, with the exception of the one that will power the board.
Now you will have all of the mechanics and electronics assembled; there are only the propellers left to be mounted, however at the moment it would be better not to apply them to the motors, since their presence may create a dangerous situation. Please connect the battery monitor’s jumper to the AOV input, and then proceed to start the system for the first time, and connect the battery to the connector that brings to the distribution board; you will hear some beeps coming from the ESCs and two power LEDs of the board will turn on, in addition to the power supply LED of the IMU module.
ESCs’ calibration
At this stage you will have to deal with the calibration, an operation that is very important since it sets all the ESCs so that they will operate in the same way.
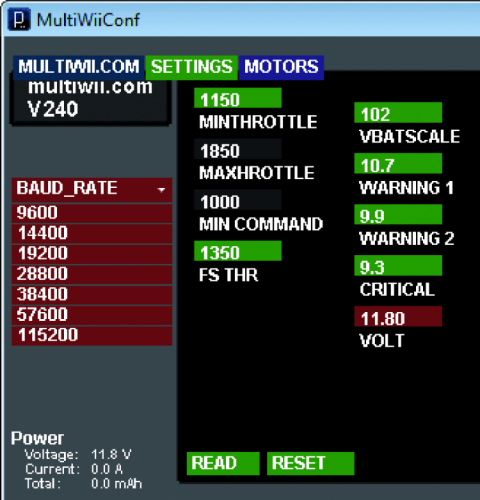
The calibration may be carried out – in a very simple way – by means of the MultiWii software.
The operations to be carried out are:
- please activate the la funzione ESC_CALIB_CANNOT_FLY function, while in the MultiWii software, by removing the comment characters in the #define ESC_CALIB_CANNOT_FLY line of the file;
- please verify to not have mounted the propellers on the motors and, in the case you did it, remove them (still with the battery detached!);
- please power the quadcopter via the ESCs and the motors connected to them;
- once you are ready to start the calibration, please load the sketch in the quadcopter’s control board;
- once the sketch has been booted, the calibration starts, and its ending will be signalled by the LED STATUS being turned on;
- please comment the #define ESC_CALIB_CANNOT_FLY line and reload the sketch;
- the calibration is concluded and the ESCs are ready.
Please notice that, if needed, the maximum and minimum calibration values may be modified by intervening on the ESC_CALIB_LOW and ESC_CALIB_HIGH lines.


