
 Stacking images always has been a favorite topic for astro or timelapse photographers. In most cases computational photography opens complete new dimension to taking pictures and acquiring awesome results. There are countless commercial software packages with some advantages or limitations. My mind about simple tasks has always been on DIY side – I think it is not worth purchasing one when you can make it by yourself. Also besides building working tool you have a chance of learning something new.
Blending modes
There are two mostly used modes of stacking:
- Averaging – is good for getting rid of sensor noise and taking simulated long exposure photos
- Brighten – is used to get persistent view of moving bright object (for example star trails)
- Stack – sum all pixels (good to make picture lighter)
Others are not so popular, but also worth mentioning:
- Darken – opposite to brighten
- Stack / Average mix
Examples
Different image set’s require different stacking modes. Result will probably require additional post processing. Below are few sample pictures made with Python script(s) provided below. To illustrate some examples I will be using images captured by stationary time-lapse cameras.
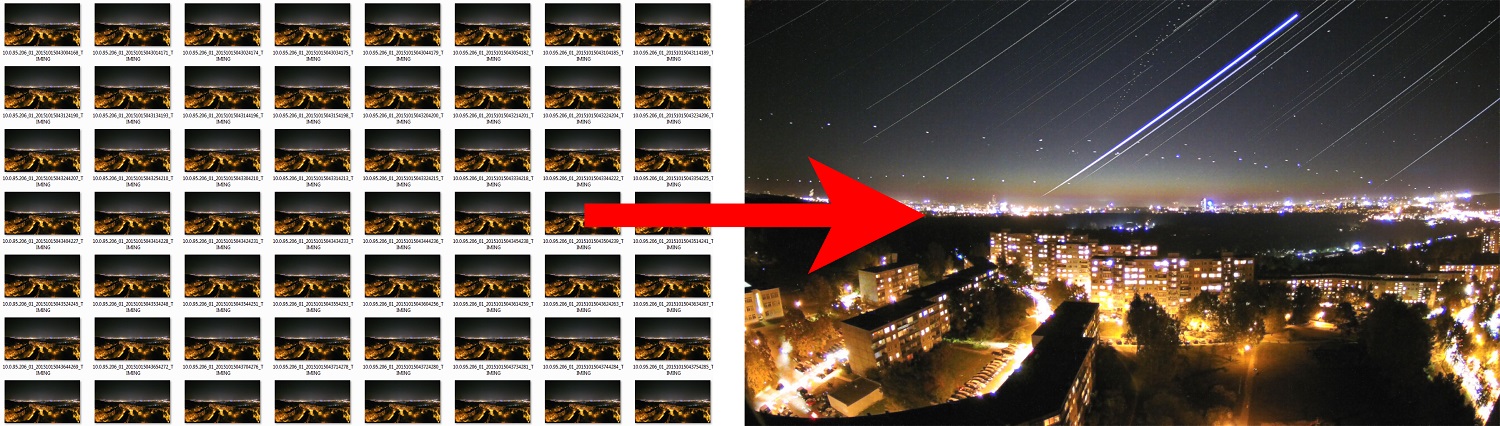
Brighten
Brighten picture is perfect algorithm to make star trails visible.
Tip: by capturing individual frames don’t not to leave gaps between frames and use long exposure. Image on the right was combined from about 2500 frames.
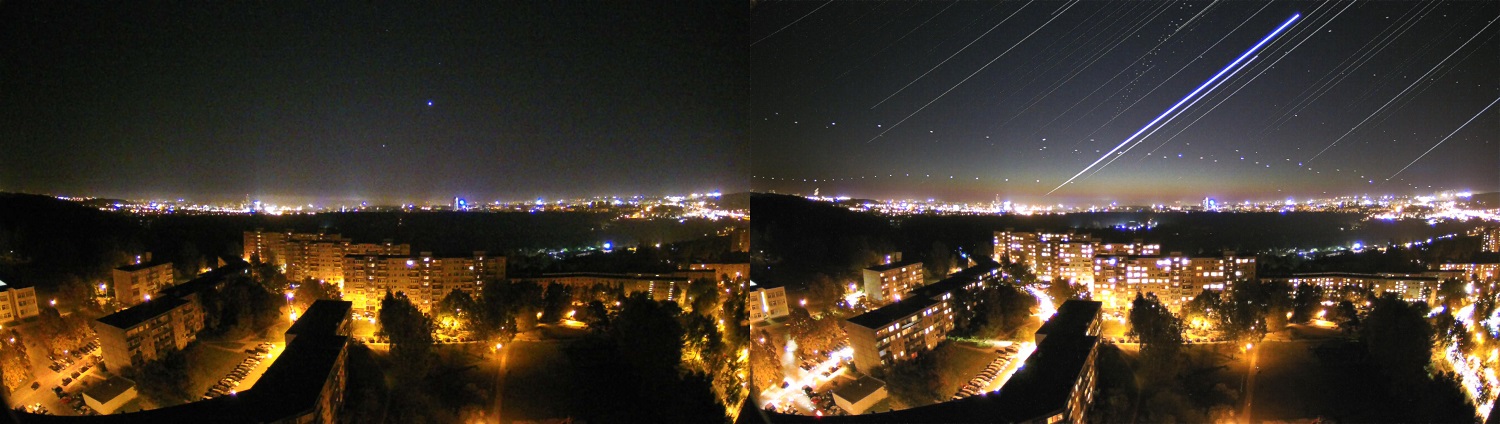
Brightest pixel averaging example of star trails
Average
Usually this mode is used to reduce image random noise. Naturally it averages everything, so there are rare cases when it is being used as noise reduction algorithm. But if light conditions are bad and ISO is boosted there are some scenes (landscape, forensic, etc) when it might be helpful.
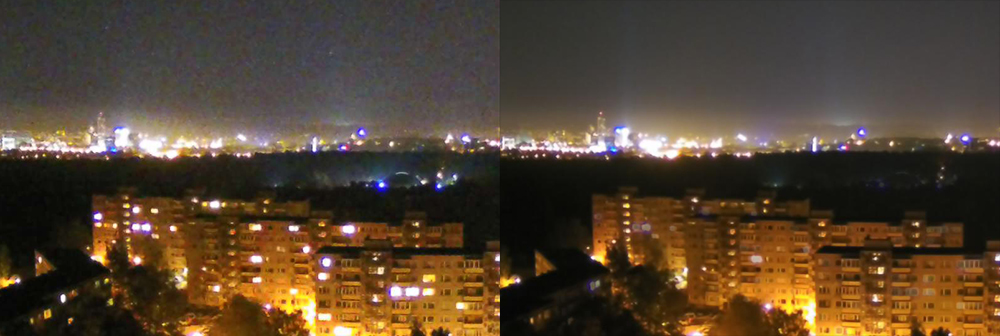
Image noise cleaning by averaging frames
Also averaging feature comes handy when you wish to clean picture from random objects like pedestrians or cars.
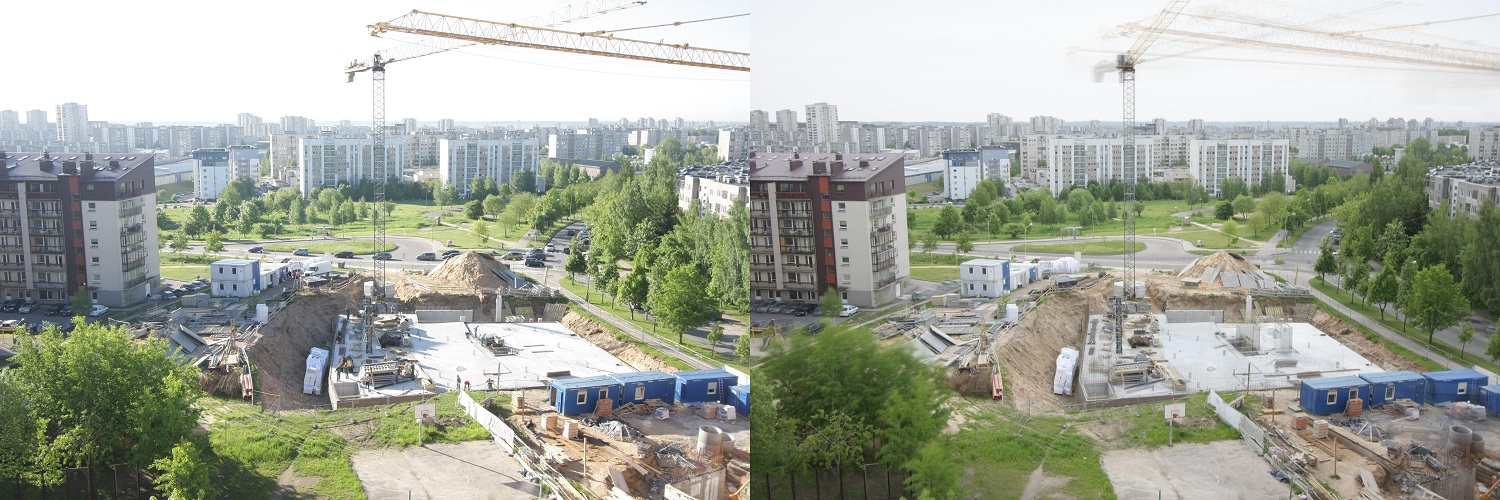
Making empty city by averaging frames
Sum
You wound not believe how much information can be revealed from dark areas.
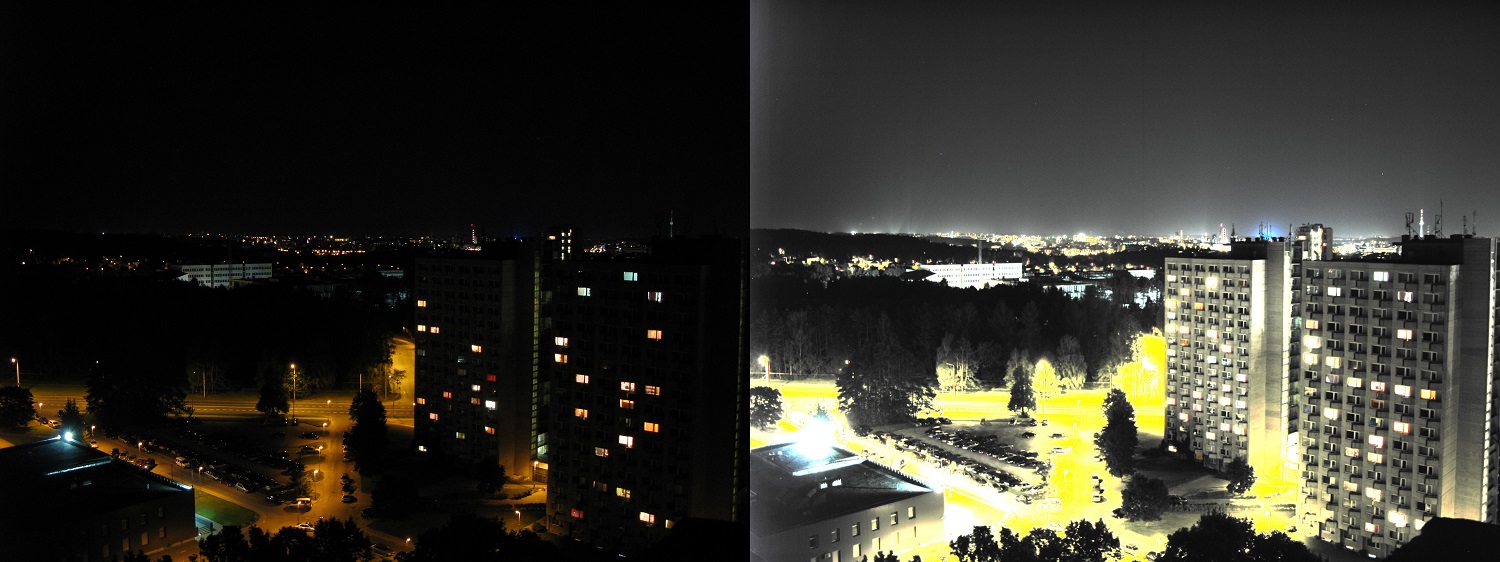
Summing pixels to reveal black areas
This example is received from 43 DSLR frames. Animation is made by altering ration for each frame and stacking them into animated gif.

Original frame from camera

brighness_divide effect on final result. Distorted sky is due to limitation of GIF file format – it can’t provide enough halftones.
Code
Python scripts use standard modules (fnmatch, numpy, PIL, tqdm) that can be installed with pip – for example:
pip install tqdm
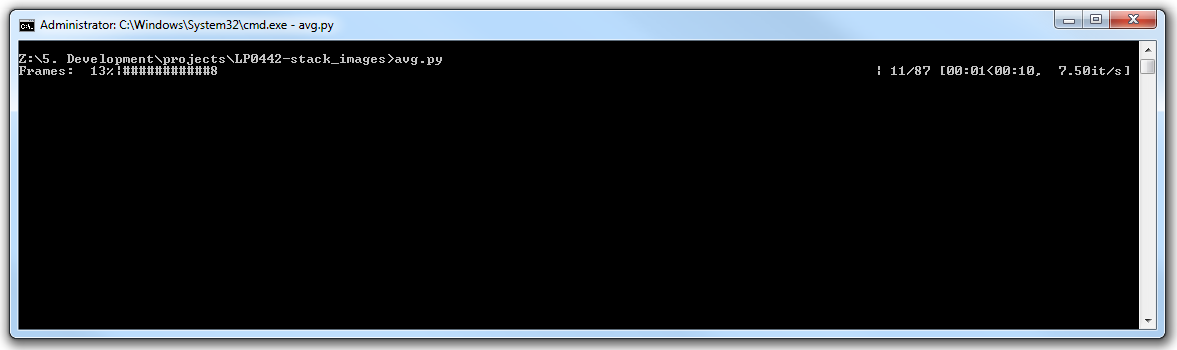
Script provides nice progress bar with remaining time estimation


